There are quite a few photo gallery website systems available right now. All have different concepts, functionalities, price models (plans) and philosophy. With his article we want to show what are Dynamic Galleries advantages and unique characteristics among the different photo website systems out there.
Our mission is to empower independent photographers with the best technology, used in our professional photo websites (which are developed by photographers for photographers), to market and run their business online. We provide a service, specifically designed for photographers, that allows them to easily, quickly and at a low cost have their own website to display, share and sell their photos. No technical skills such as HTML, CSS, PHP or SQL are needed. Every aspect of the website can be controlled through an easy-to-use content-management-system. The only software you need to setup your website will be the web browser you are reading this article in right now.
When you hire us you are not just another faceless number among a huge list of clients who receive another website product from a prepackaged template system with some adjustments to style, fonts and colors. Instead you will talk directly to the developers and we will build a completely individual project just for you and do all the programming and custom design work, resulting in a unique website that mirrors your own professional vision.
Compared with other photo websites our gallery system works extremley well with search engines. We have built the program from the ground up with search-engine-compatibility as a top priority. Our galleries are not only collections of images, each photo (and product) has its own page with all print ordering options well presented and easy to use for possible clients. All our different gallery styles not only look nice, it is easy and intuitive to navigate through them and find related galleries and photos. Our websites are not designed to be a huge stock photography archive, they are designed for photographers who believe that each individual photo is a work of art and should be presented that way (along with its custom print ordering options). The Dynamic Galleries backend Photo Content-Management-System, or CMS for short, is the powerful database engine under the hood of our photo gallery sites. It is an easy and intuitive interface to maintain all the content of your site easily and fast. And finally, if you need a new feature the software does not have at the moment we can talk and give you a quote for how much each extra feature will cost, if there is an extra cost.
So, without further banter here are the key advantages of the Dynamic Galleries Photo Website System:
 very competitive price, no unclear pricing structure with different pricing plans
no long-term contract, no monthly fee or licensing, just a one-time build fee
modules and features are not depending on plans, you will always get the whole range of functions
no commissions taken from your sales
create unlimited products of your choice, with the prices you want
you decide where and how your prints are made (no inflexibilities with external partners)
no html or css knowledge necessary, we do all the programming and design work for your website
we create a unique design for your site, exactly the way you want it, no prepackaged templates
flexibility and responsiveness others can only dream of (you get to interact directly with the developers)
choose a hosting company in your country (for optimal server response times, of course we can help)
use your own domain (no customerXY.dynamicgalleries.com web address)
good use of the latest web technologies, the software behind Dynamic Galleries is built in-house
the code is continously reviewed and improved, including new features and free updates
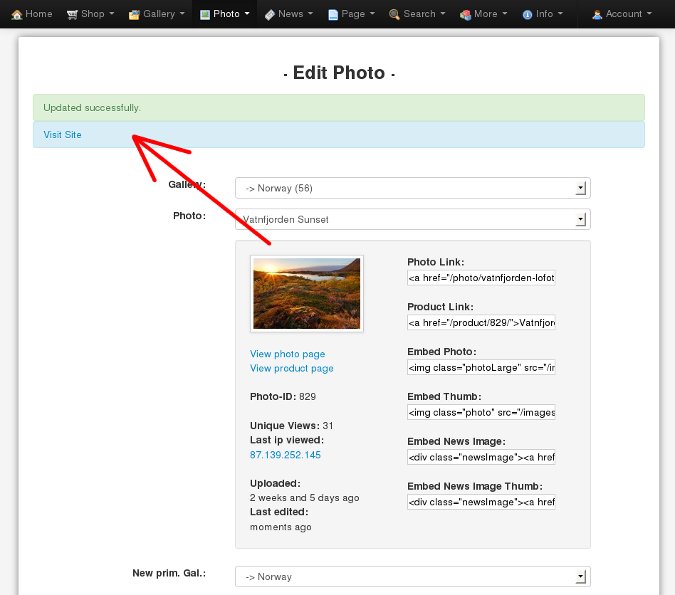
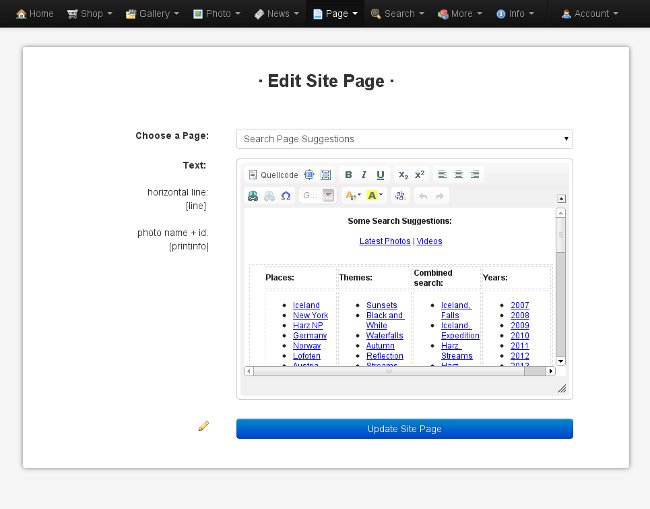
Feel free to test the Live Demo of the Photo CMS here.
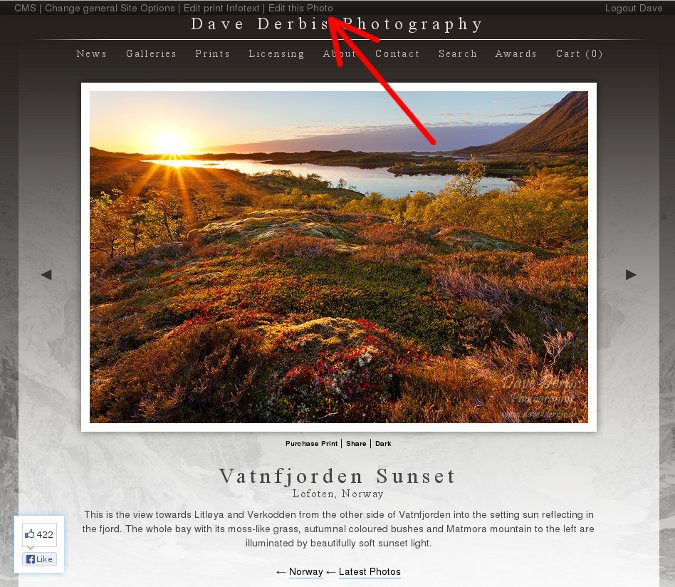
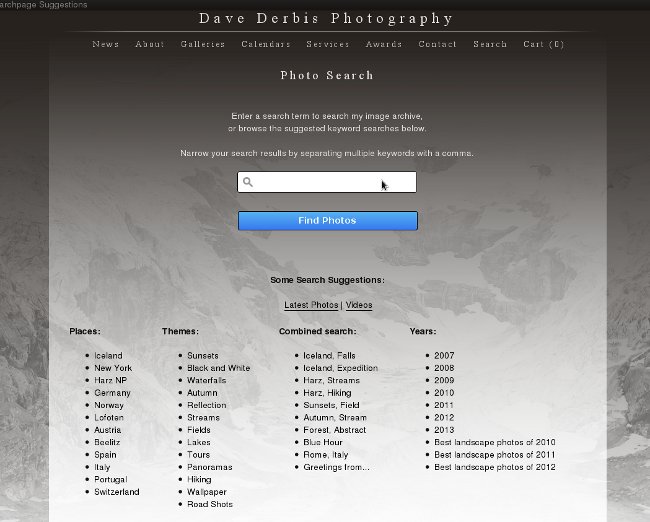
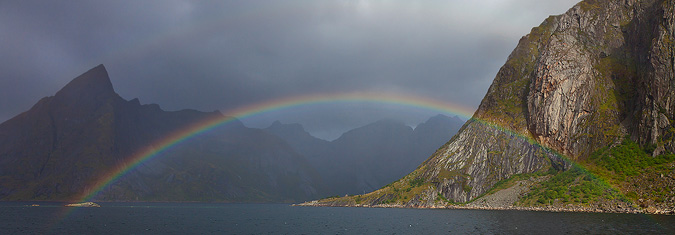
You’ll find a frontend example page by clicking this link and visit one of the photo pages on Dave’s Website.

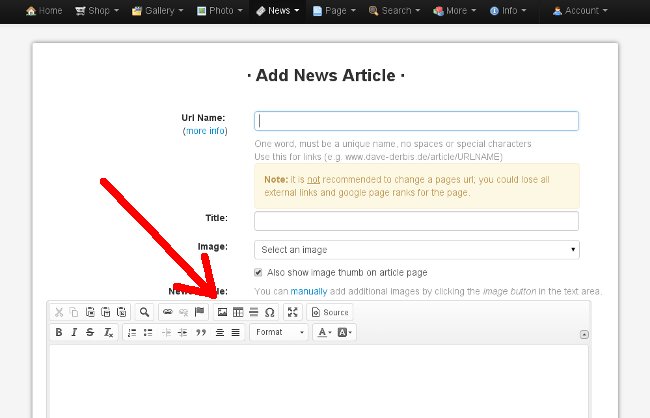
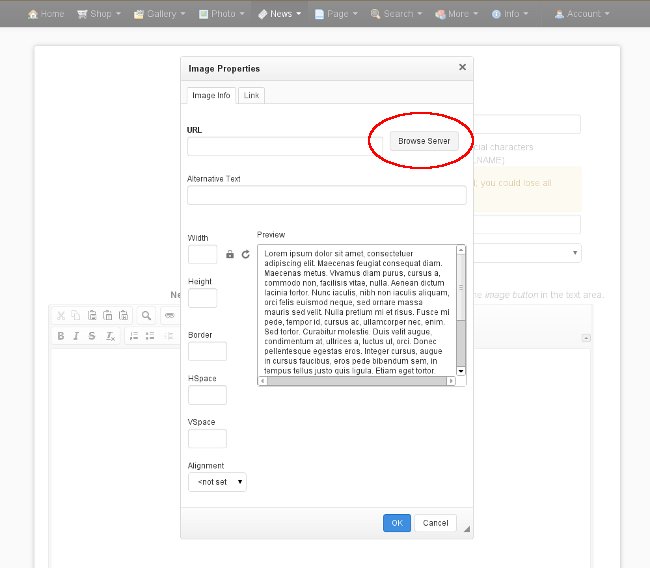
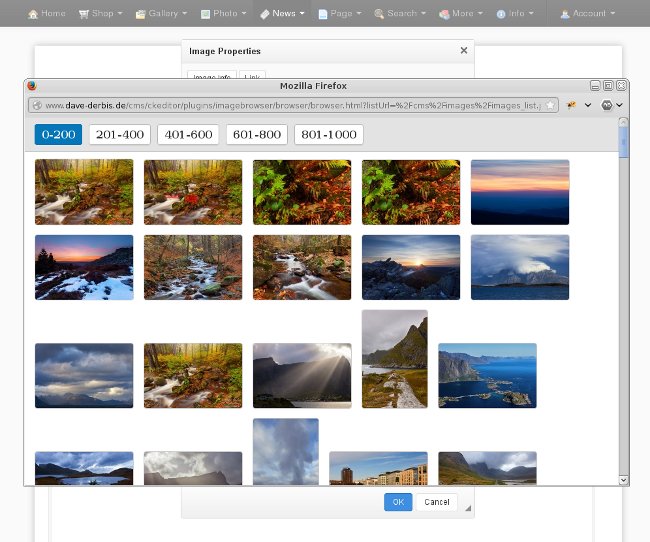
Screenshot: Photo CMS
Please contact us if you have any questions about how our gallery websites compare to another particular brand of gallery website that you may be considering.


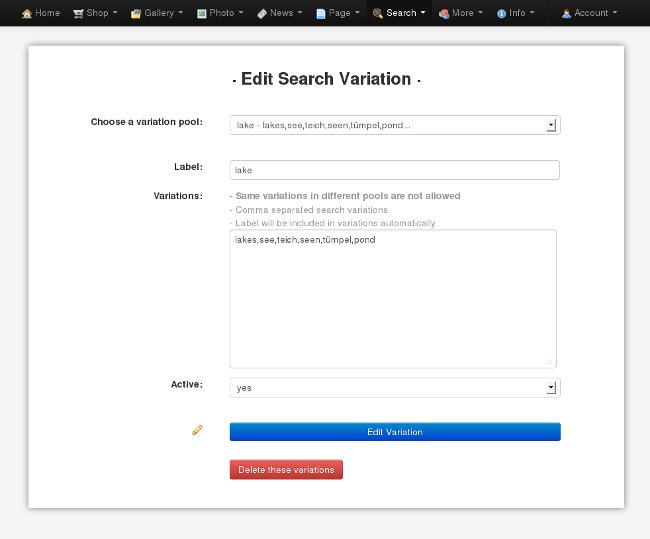
 Screenshot: Photo Wizard
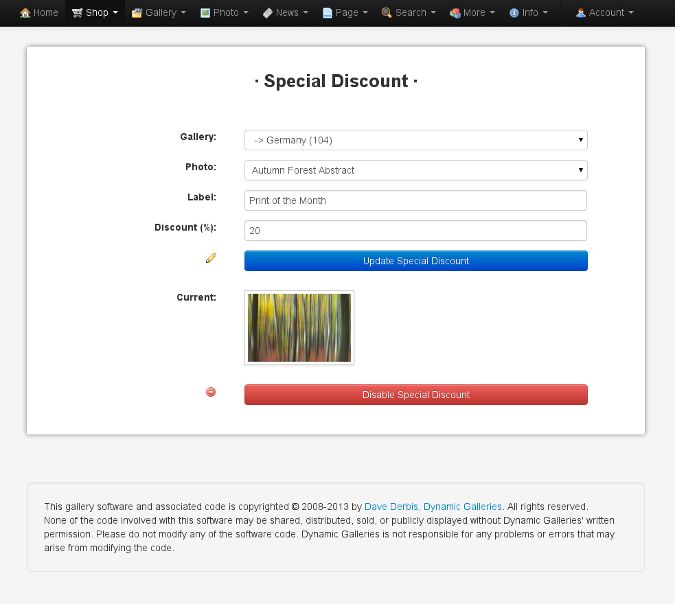
 Special Discount Offer
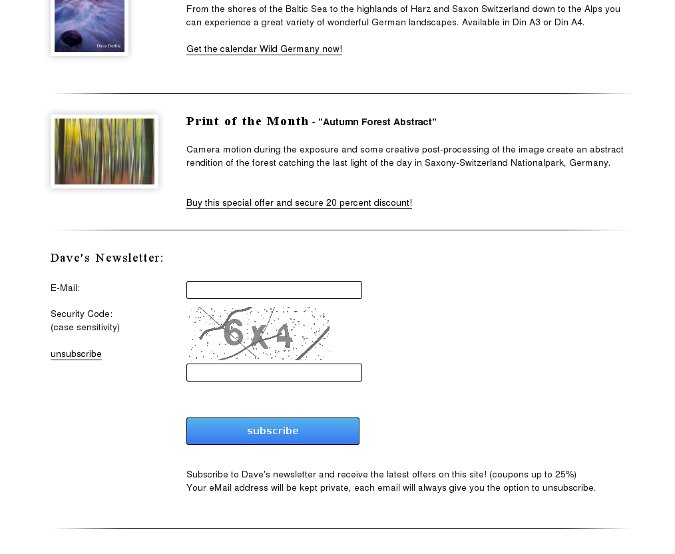
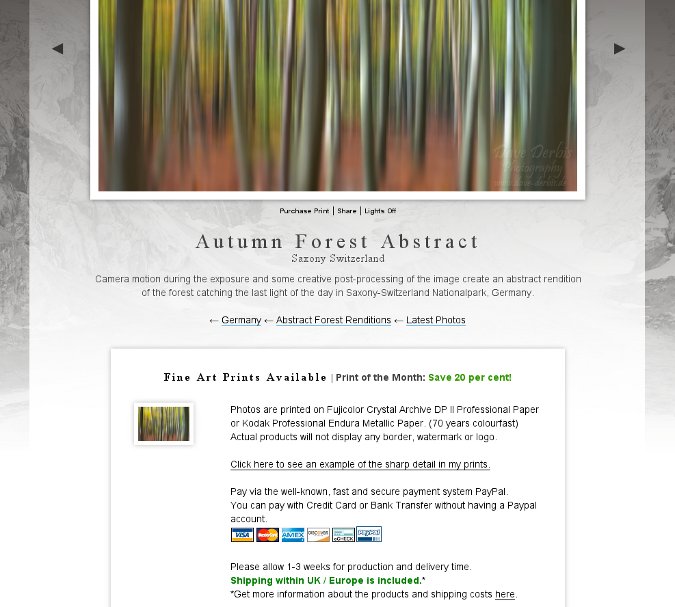 Autumn Forest Abstract Offer
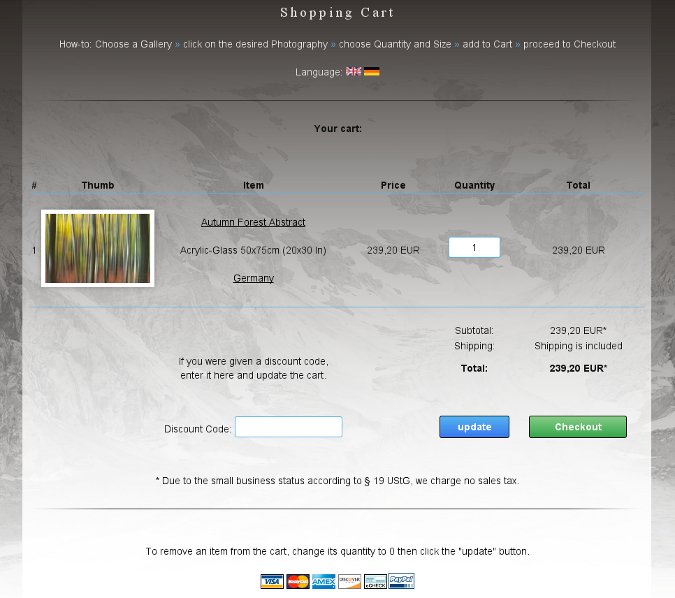 Dynamic Galleries Cart
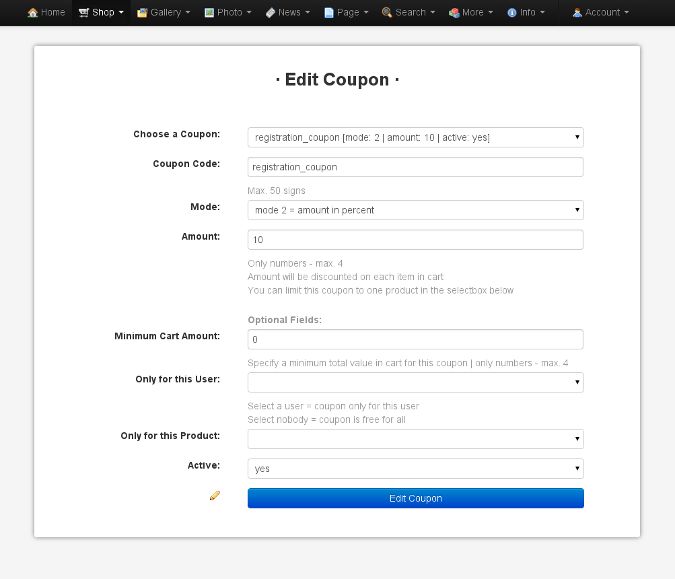 Edit Coupon Form